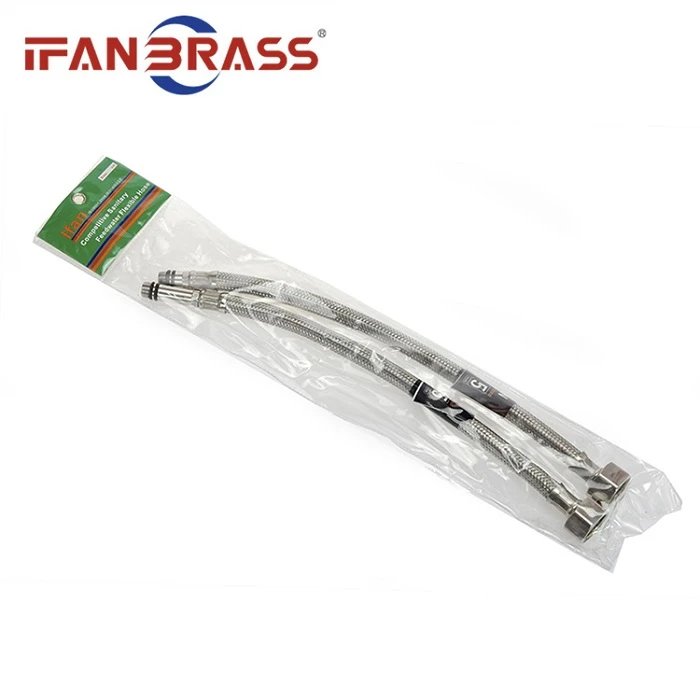
シャワーホースの取り付けと使用の手順:給水パイプラインの設計→給水パイプラインの取り付け→電源回路の設定→パイプラインのフラッシング→底板の固定→電源ラインの接続→水テスト、調整→使用。 シャワーホースの電源は乾いている必要があり、安全に注意してください。 電源間の距離は、<50M, and each power supply must be independent and cannot be connected in parallel. When the main power line passes through the three-way junction box, a U-shaped bend with a length of 4cm should be left. After peeling off, connect the random power line according to the red positive and black negative polarity. The joint is tightly wrapped with waterproof tape, and the power line has a waterproof plug. Throw one end out and keep it. When installing the Shower Hose, be sure to fix the bottom plate first. It is best to mark the outer edge of the bottom plate on the fixing hole, then drill 4-6 holes with a depth of >29MM、底板を固定します。 上部の装飾プレートを水の出口と水の入口に同時に通し、シェルの上部に押し込みます。 次に、給水口の管理を滑らかにし、4-点のゴム製パッドをその上に置き、給水口に接続します。 次に、アウトレットパイプロックナットを水アウトレットパイプの上端からクラスプにスライドさせ、アウトレットパイプの下端に「テーパーゴムリング」を置き、アウトレットに挿入し、ロックナットをロックします。 アウトレットパイプの上端を固定座に置き、固定キャップで押し込み、2本のM4×15ステンレス鋼セルフタッピングネジを使用して固定します。 次に、シャワーヘッドを組み立て、その上に4-ポイントのゴム製パッドを置き、それを水出口にねじ込みます. パイプラインをもう一度確認してから、最初に水を通し、水漏れがないかどうかを観察し、適切に処理します。 次に電源を入れ、ノズルが正常か、水が流れるかをテストします。